
For a first inverted chastity cage, understand the parts and the removal process before considering use. Start with the exact configuration you received, not an assumption about what a similar-looking model contains. The eight checks below connect the listing to an off-body inspection.
Eight checks before a first use
| Check | What to establish |
|---|---|
| 1. Profile | Identify the cage body, inward-facing section and openings from the model’s own instructions. |
| 2. Measurements | Understand which values are external, internal or ring measurements. Do not infer internal space from an exterior photo. |
| 3. Ring configuration | Confirm one selected ring versus an included set; record the actual sizes and shapes. |
| 4. Materials and surfaces | Read the stated materials and care guidance. Inspect seams, edges and finishes without assuming the material name proves suitability. |
| 5. Closure | Identify the supplied key, lock, pin or other model-specific closure. Test normal operation off the body. |
| 6. Package | Match the delivered parts to the exact option labels and confirmed package contents. |
| 7. Optional components | Treat a strap or additional component as a separate compatibility question. This checklist does not cover urethral or piercing-connected components. |
| 8. Cleaning and drying | Establish how the manufacturer says to clean each material and reach removable parts before use. |
For the wider purchasing decision, see the seven-point buying checklist. For the dimensions themselves, use the measurement record. This article is about receiving and checking a first device, not declaring a universal beginner model.
Unpack, compare, then test the hardware
- Lay out the parts on a clean surface and compare them with your exact configuration. Photograph the parts if you need to ask about a missing item; intimate photographs are not necessary.
- Inspect visible edges, seams and connections. Stop if something is cracked, sharp, deformed or otherwise questionable.
- Using the model’s instructions, check how the parts connect while off the body. Do not force a misaligned connection.
- Test the supplied closure and its normal release. If a key or mechanism resists, resolve that hardware problem before use.
- Keep the release method immediately available. Do not rely on a remote person or an inaccessible spare for removal.
Two configurations to read carefully
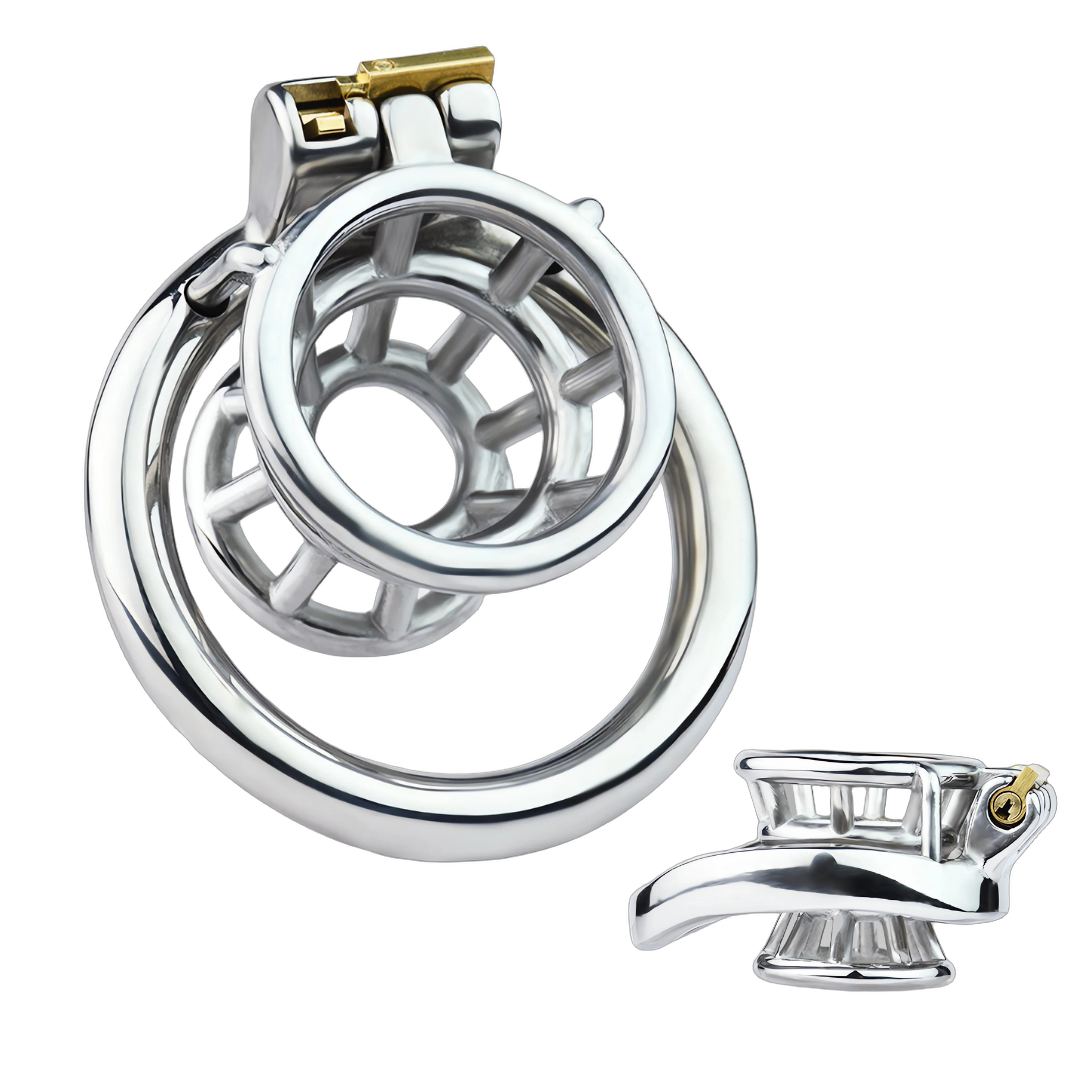
Metal Inverted Chastity Cage Stainless Steel Negative Chastity Device
This stainless-steel cage lists arc and round ring styles, alongside 40, 45, 50 and 55 mm size choices. It illustrates two separate configuration decisions. Check the exact delivered ring style and size against your selection; a straightforward product description does not establish an individual fit.
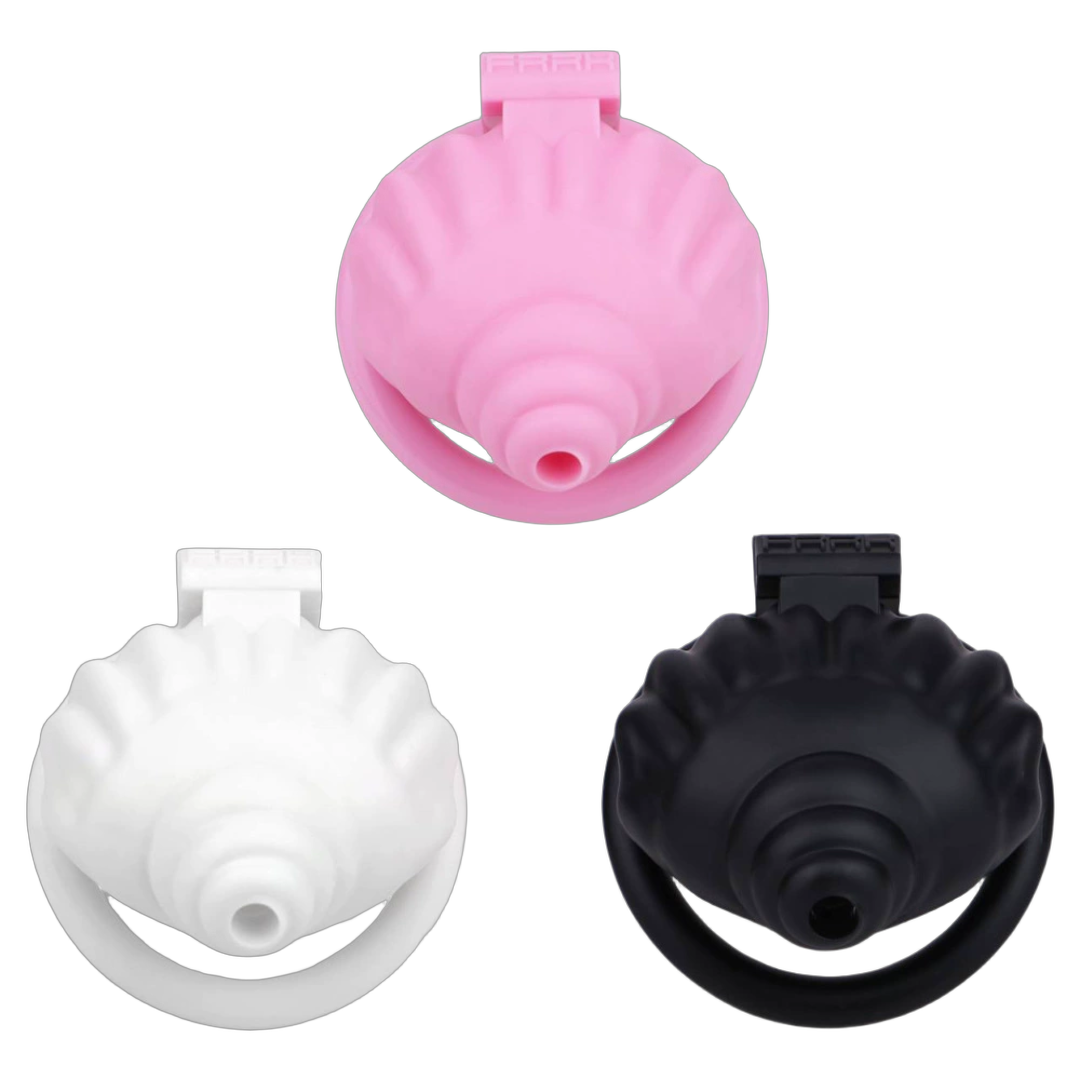
ABS Small Shell Chastity Cage Set with 4 Rings – Pink / Black / White
The ABS Small Shell listing describes four included rings: 40, 43, 46 and 50 mm. The nylon strap remains a separate option, including “NO Strap.” A clearly specified set can make the unpacking check easier, but the included choices do not guarantee that one is suitable.
Keep the first observation separate from an endurance goal
Only consider use when the hardware, configuration and instructions are understood. Stay able to notice symptoms and remove the device. Do not set a target that requires ignoring discomfort, and do not treat an uneventful first check as proof that longer or overnight use is safe.
The first-wear observation checklist covers what to notice, and the removal guide covers normal release and when to seek help. The cleaning guide is a separate part of preparation, not something to postpone until a problem appears.
Stop using the device if there is pain, numbness, swelling, discoloration, broken skin, or difficulty urinating. Remove it if you can do so safely; seek urgent medical help if it is stuck or symptoms are severe. Do not force removal or wait for painful pressure to become tolerable.